

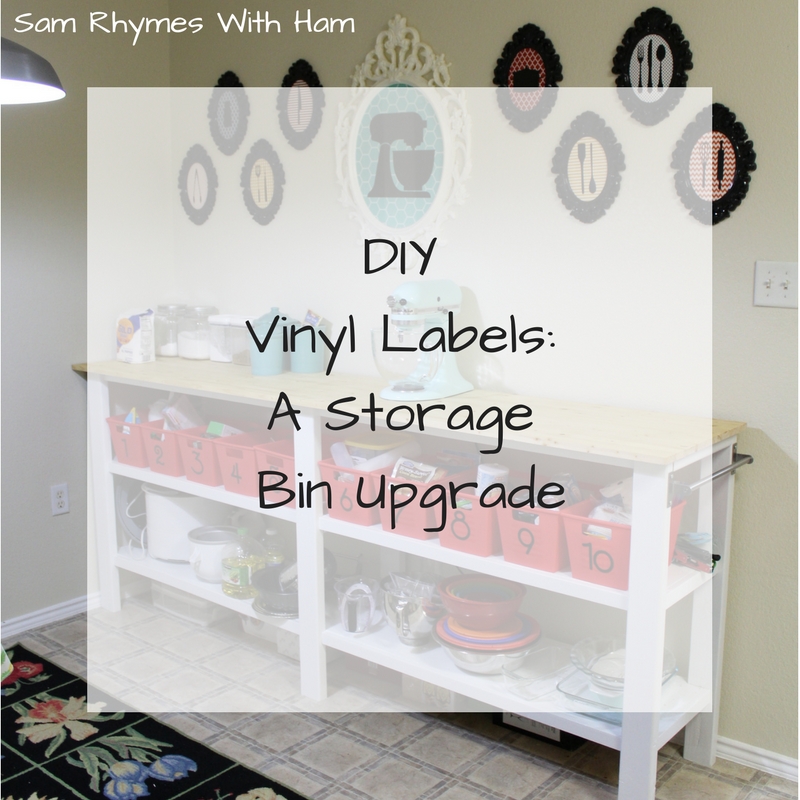
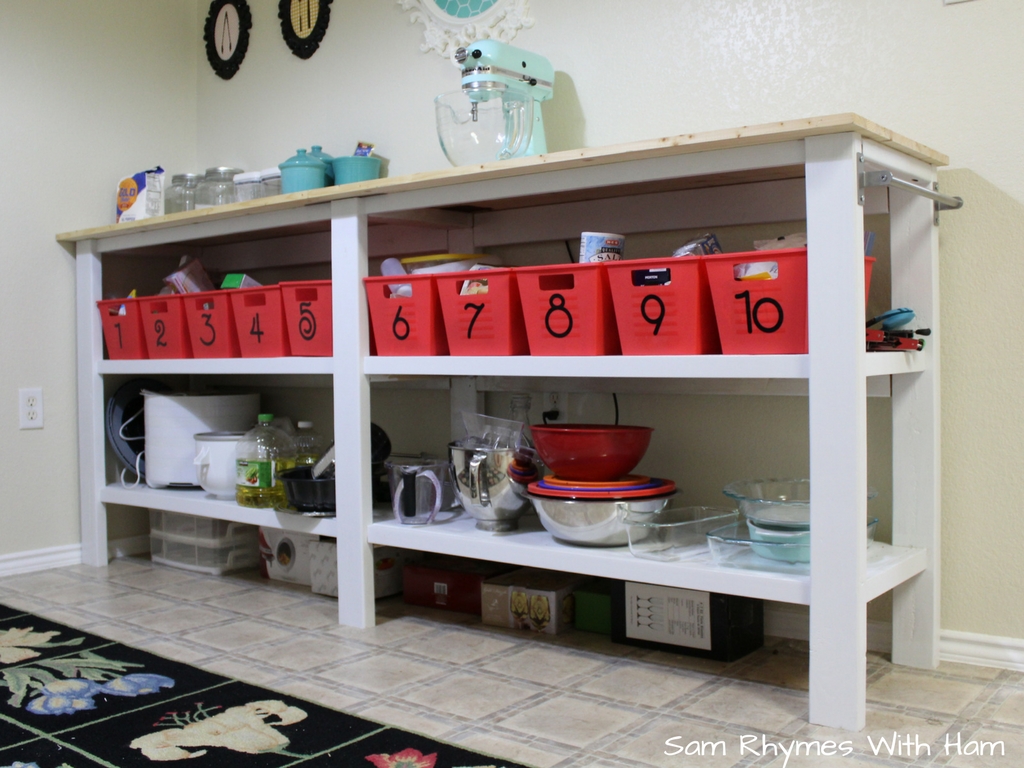
So I am obviously obsessed with the Baking Bar in my kitchen. I love how much counter space it adds, and all of the pretty open storage on the lower shelf. In the red bins I keep all of the ingredients and supplies related to baking. Because I put everything in the bins, and use them more often I have a pretty firm grasp on what things are in which bin. Jared on the other hand does not have such a firm grasp, and is regularly asking me “where are the decorating bottles?” or “where is the baking soda.” So I would have to respond with “Third bin from the left” or “in the middle, but like the bin to the right of the middle” So I decided we needed a better system.
In the theme of my life this summer, I am finishing projects I started, or had the idea for ages ago. I bought the vinyl for this one in April and then never did it, even though from start to finish I think I spent maybe 30 minutes working on it! I decided on numbering the bins because I couldn’t think of concise words to put on the front of each bin that described their contents. For example what is not bin #10 has powdered sugar, brown sugar, and three types of flour, so I would have had to make too many labels and they would have looked a mess. In theory I could make a list of what is in each bin, but I’ve mostly got it all in my noggin.
Like I said, from start to finish this project took me no more than 30 minutes. I typed in all of the numbers in Cricut Design space, adjusted the size to fit nicely on the bins, Asked Jared 200 times if he liked the font, and then cut them out of sticky vinyl with my Cricut.

Once they were done cutting I separated each letter and weeded all of the extra vinyl out.
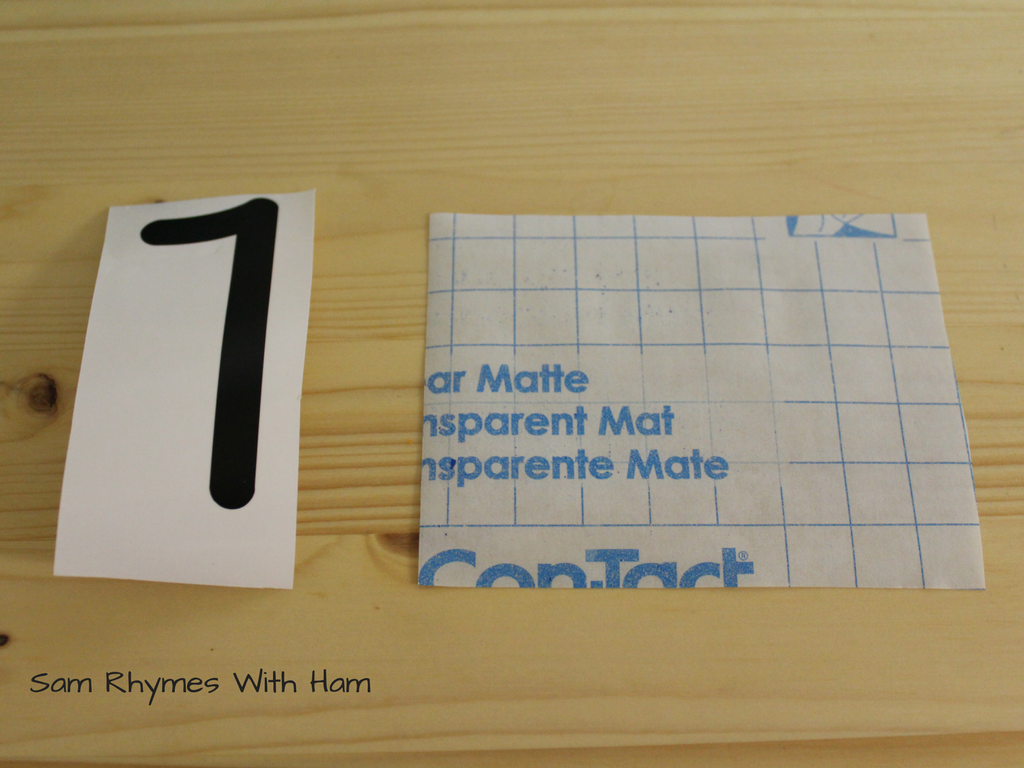
Then I grabbed a piece of contact paper to use as transfer paper. There is fancier transfer paper out there, but I’ve always used cheap contact paper because it works and I have a huge roll of it…
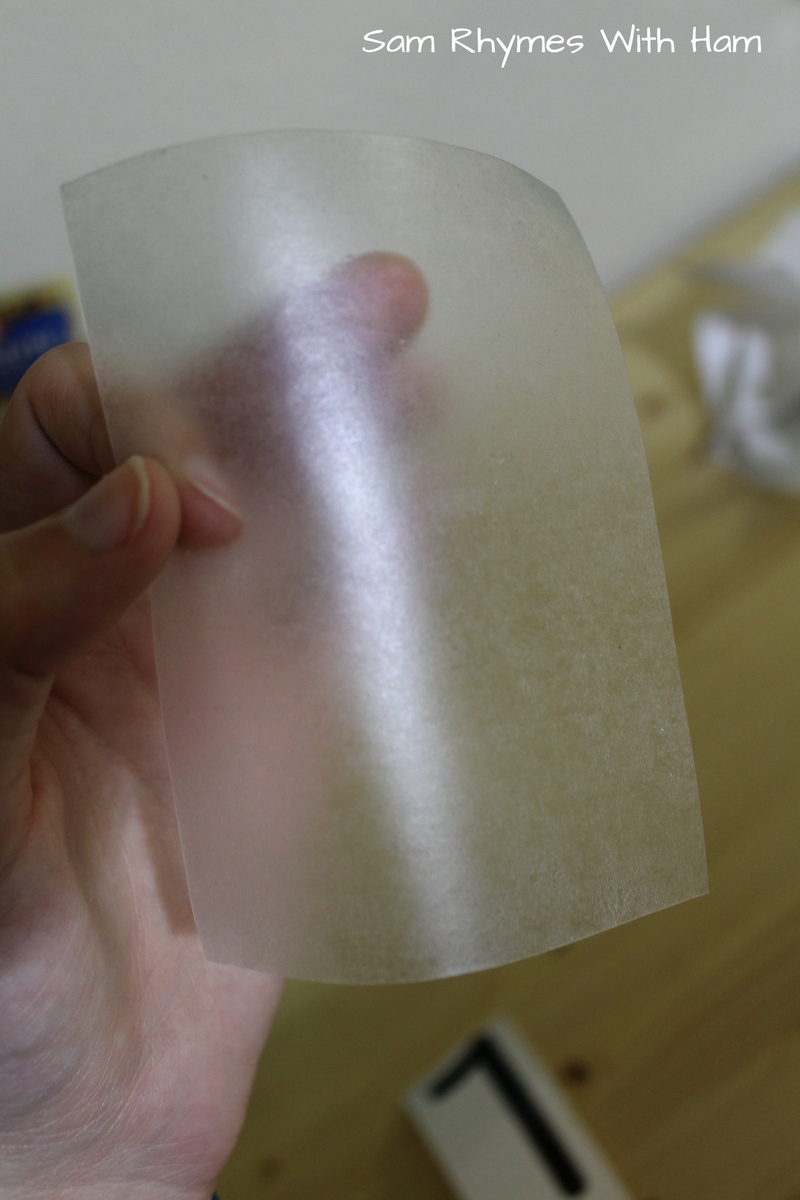
Next you peel the contact paper off of its backing.
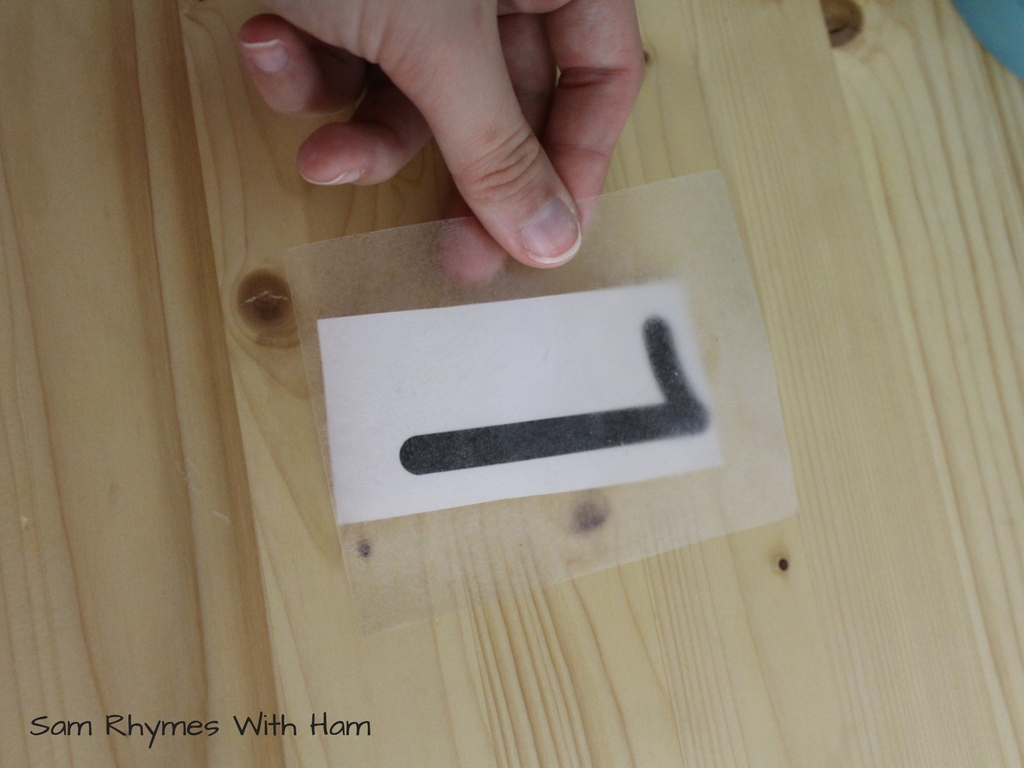
And put it sticky side down onto the number you cut out.
Press firmly on the design so it sticks to the contact paper.
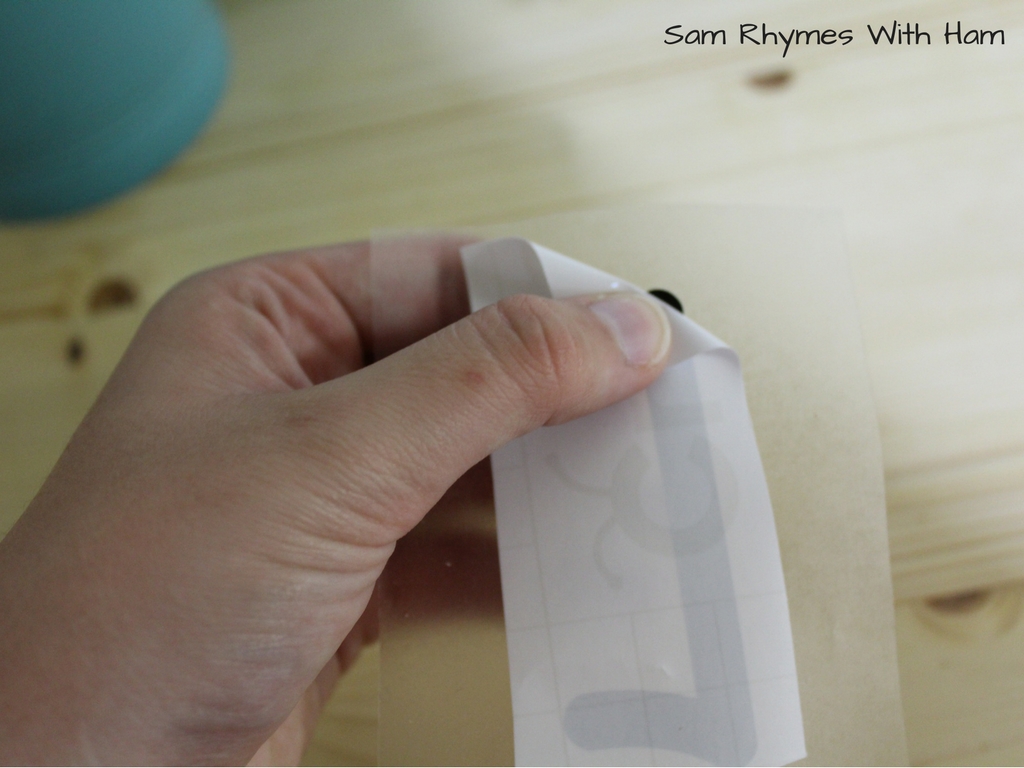
Then carefully peel the contact paper off of the vinyl back, being sure to lift the vinyl with the contact paper. I like to do it on a diagonal so that I’m not trying to lift a whole long edge at once. If the vinyl is sticking to the backing oo tightly I use my cricut hook to encourage it off of the backing.
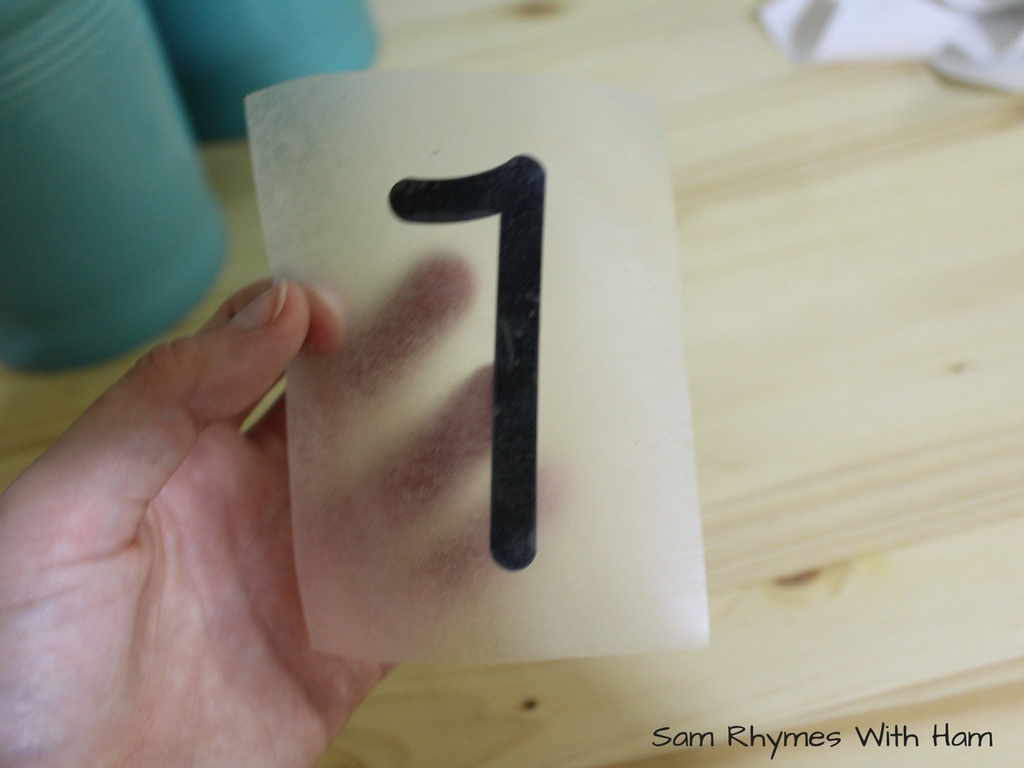
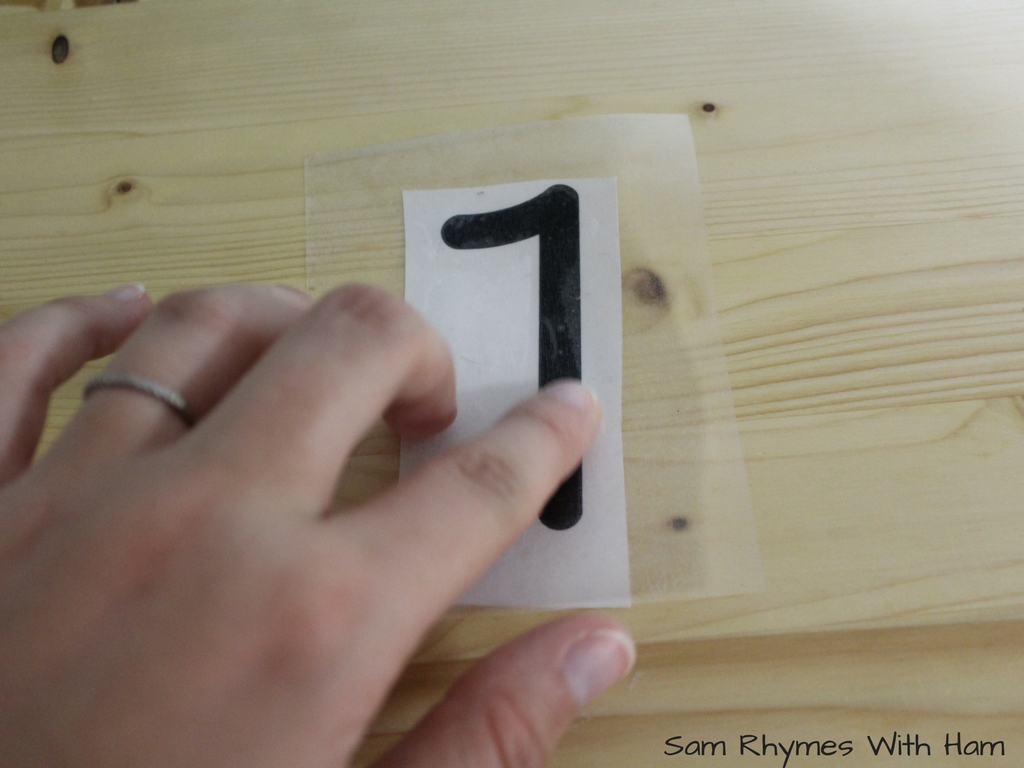
So now you should have the contact paper, with the vinyl design lifted onto it.

Then you stick it on, press firmly, and slowly peel off the contact paper. I used the same piece of contact paper on all 10 numbers repeating the same process each time. Then I just tossed it in the trash because it had served its purpose and cost a fraction of penny! I’ve heard people treat real transfer paper very preciously because it is a little pricey, but with contact paper I don’t have that problem!
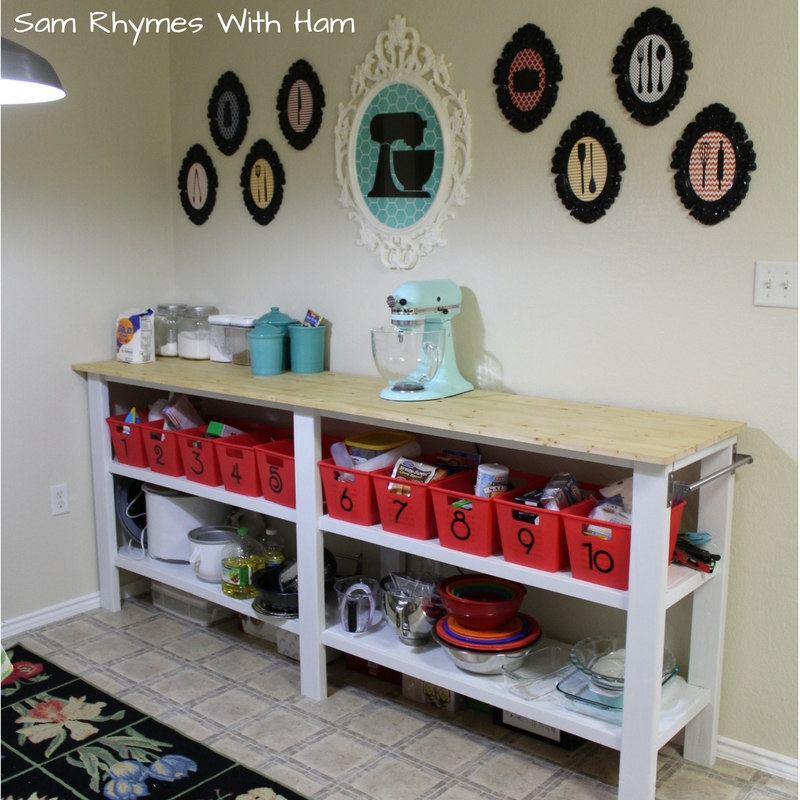
And just like that My bins have fun numbers and when I’m yelling to my husband where the chocolate sprinkles are I can just yell “There’s in bin number 6!” (upon examining this photo I probably should have straightened up the bins a little bit before taking the photos. But this is life people)
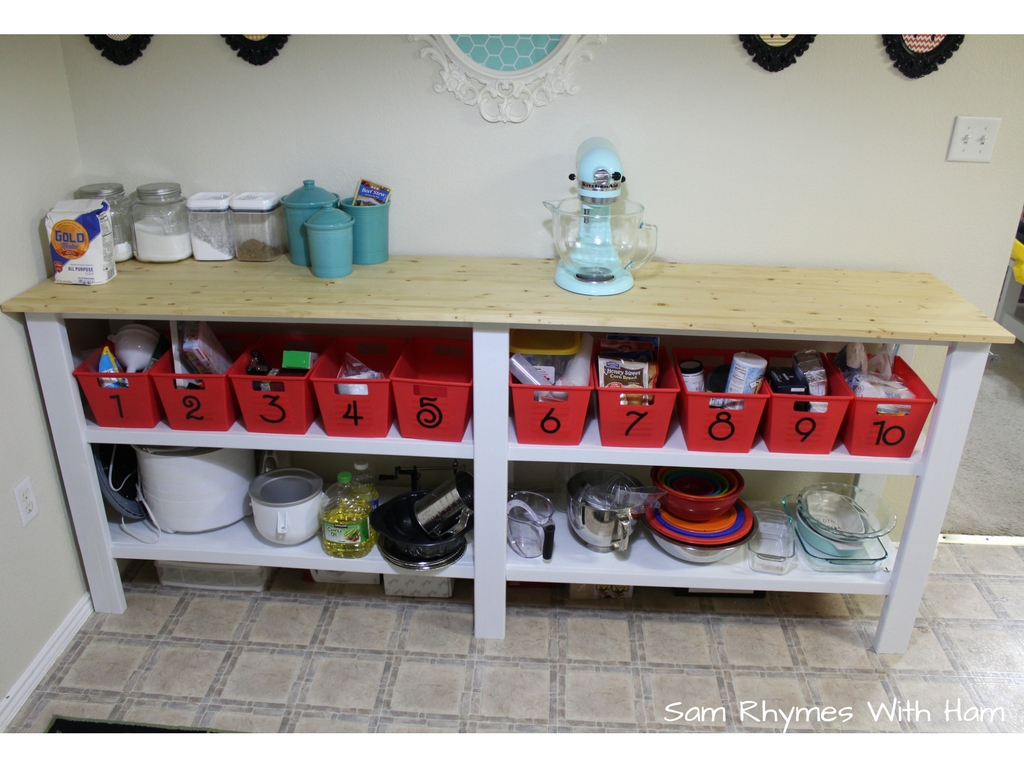
While I was finishing up taking the pictures, Jared came down and was annoyed at the direction I had the numbers go, because the far right bin is the first one we walk up to, he thought I should have made that bin #1. But that makes NO SENSE because we read left to right, number lines get larger (positively) from left to right, and putting #1 on the right would have driven me crazy for the rest of eternity. I told him that if we still have the baking bar and these bins in a hundred years when we have kids it would be detrimental to their understanding of number relations if they were backwards. So I’m leaving them (teachered him right out of that one!).

So there you have it. A quick way to add a little extra to your kitchen storage. I am in love with it! Someday I’ll probably be done making little updates to this corner of my house, but that day is not today! I have a few more little projects in mind for this corner of the room!
If you want to read more about the Baking Bar you can check that post right HERE and if the snazzy wall art above has caught your eye, you can check them out HERE including a free download for all of the files!
This post contains a couple of amazon affiliate links. If you buy anything from amazon after clicking on one of my links, I get a few cents.


0 Yorumlar